 Save to Pinterest
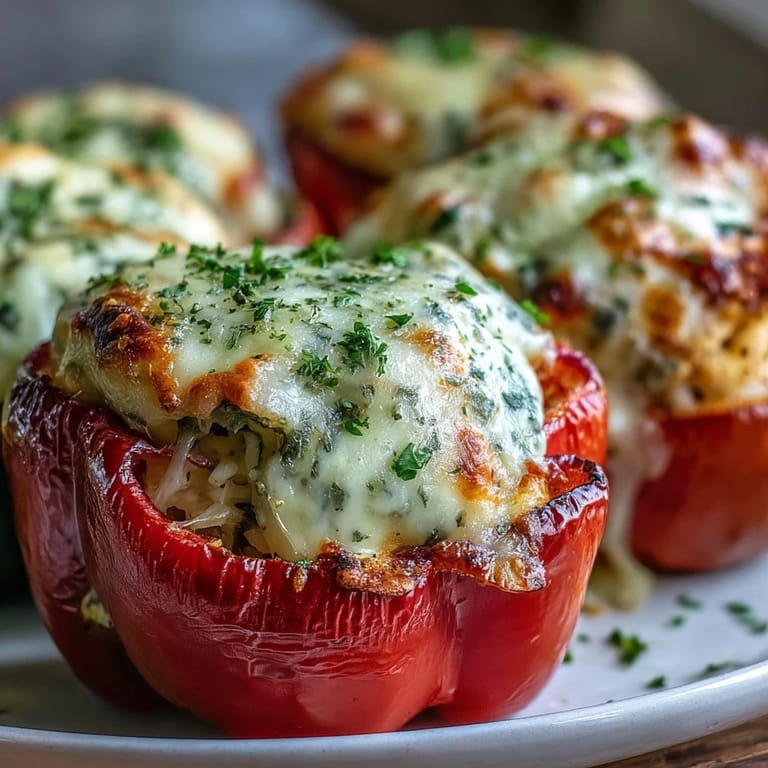
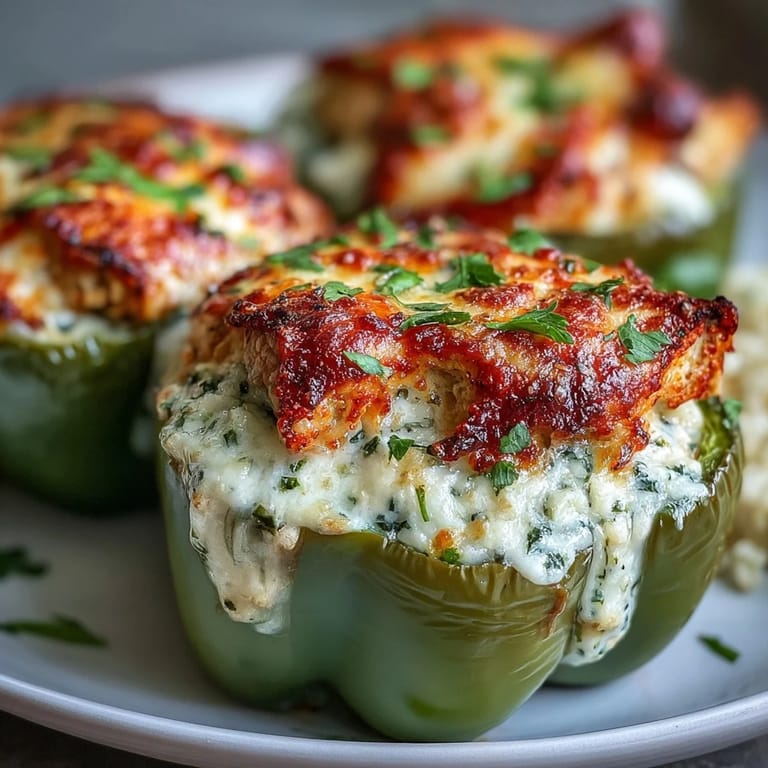
 I was standing at my kitchen counter on a rainy Wednesday with four bell peppers, leftover chicken, and no clear plan for dinner. My son wandered in asking what smelled so good, even though I hadn't started cooking yet. That's when it hit me: stuff the peppers with everything creamy, garlicky, and comforting I could find. What came out of the oven that night became a dish we crave on repeat.
The first time I made these for my neighbors, I worried the peppers might be too plain. But when I pulled them from the oven with that golden, bubbling cheese on top, even I was impressed. My friend Kate took one bite and declared it comfort food perfection. Since then, I've made them for potlucks, busy weeknights, and even a small birthday dinner where they completely stole the show.
Ingredients
- Bell peppers: Choose firm, evenly shaped peppers so they stand upright without tipping, and any color works beautifully depending on your mood.
- Cooked white rice: Day-old rice is perfect here because it's drier and soaks up the creamy sauce without getting mushy.
- Olive oil: Use a good quality oil for browning the chicken, it adds a subtle richness to the filling.
- Chicken breast: Dice it into small, even pieces so it cooks quickly and blends seamlessly with the rice.
- Garlic: Fresh minced garlic is non-negotiable, it creates the aromatic backbone of this entire dish.
- Onion: Finely chop it so it melts into the sauce and adds sweetness without chunky texture.
- Heavy cream: This is what makes the filling luxurious and creamy, don't swap it for milk or it won't be as rich.
- Chicken broth: It loosens the sauce just enough and adds savory depth, use gluten-free if needed.
- Dried Italian herbs: A simple blend of basil, oregano, and thyme ties all the flavors together beautifully.
- Salt and black pepper: Season confidently, these peppers need a little boldness to shine.
- Parmesan cheese: Freshly grated melts better and tastes sharper than the pre-shredded kind.
- Mozzarella cheese: Half goes into the filling for creaminess, the other half creates that irresistible golden top.
- Fresh parsley: It brightens everything and makes the finished dish look like it came from a restaurant.
Tired of Takeout? 🥡
Get 10 meals you can make faster than delivery arrives. Seriously.
One email. No spam. Unsubscribe anytime.
Instructions
- Prepare your oven and peppers:
- Preheat to 375°F and lightly grease a baking dish that fits all four peppers snugly. Slice off the tops, scoop out seeds and membranes, and set them upright while you make the filling.
- Brown the chicken:
- Heat olive oil in a large skillet over medium-high heat and cook diced chicken until golden and cooked through, about 5 to 6 minutes. Transfer to a plate so it doesn't overcook while you build the sauce.
- Sauté the aromatics:
- Add onion to the same skillet and cook until softened, then toss in minced garlic and stir for about a minute until your kitchen smells amazing. This step is pure magic.
- Make the creamy sauce:
- Pour in heavy cream and chicken broth, then stir in Italian herbs, salt, and pepper. Let it simmer gently for 3 to 4 minutes until it thickens just slightly and coats the back of a spoon.
- Melt in the cheese:
- Lower the heat and stir in Parmesan and half the mozzarella until everything melts into a velvety, dreamy sauce. This is the moment you'll want to taste it with a spoon.
- Combine the filling:
- Add cooked rice, browned chicken, and chopped parsley to the skillet and mix until every grain of rice is coated in that creamy goodness. It should look rich and cohesive.
- Stuff the peppers:
- Spoon the filling into each pepper, packing it gently but firmly so they're nicely filled. Don't overstuff or they'll topple over in the oven.
- Top with cheese:
- Sprinkle the remaining mozzarella generously over each pepper. This will melt into a golden, bubbly crown that makes them irresistible.
- Bake covered:
- Arrange peppers upright in the dish, add a splash of water to the bottom, and cover tightly with foil. Bake for 25 minutes so the peppers steam and soften without drying out.
- Finish uncovered:
- Remove the foil and bake another 10 minutes until the cheese is golden and slightly crispy on top. The peppers should be tender but still hold their shape.
- Garnish and serve:
- Sprinkle fresh parsley over the top and let them rest for a few minutes before serving. The filling will set slightly and be easier to eat.
 Save to Pinterest
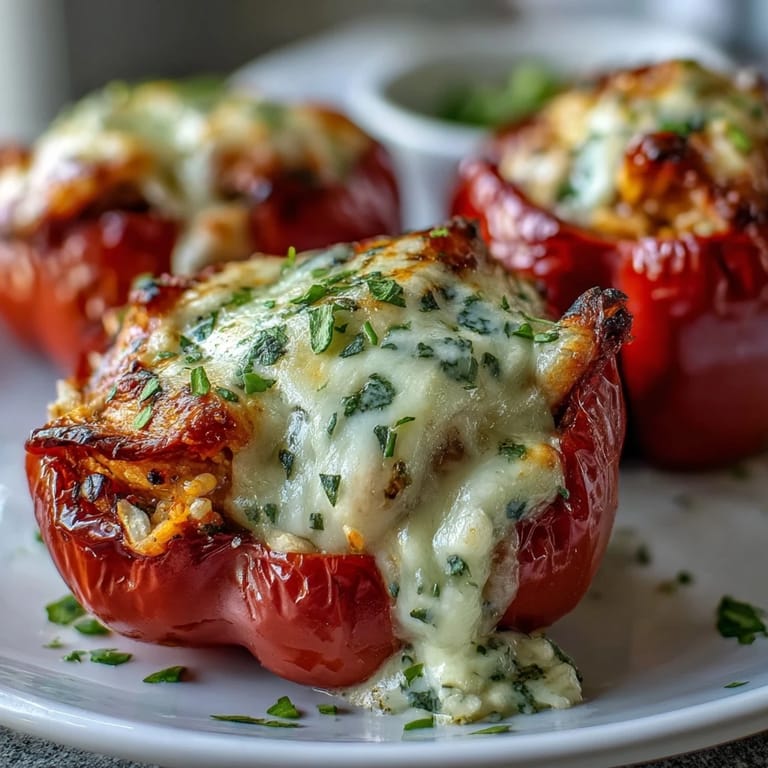
 One evening, my husband came home exhausted and sat down to one of these peppers without saying much. Halfway through, he looked up and said it tasted like something his grandmother used to make, even though she never made stuffed peppers. I think that's the magic of comfort food, it doesn't have to be nostalgic to feel like home.
Choosing the Right Peppers
I used to grab whatever peppers were on sale, but I learned that size and shape really matter here. Look for large, blocky peppers with flat bottoms so they stand steady in the dish. Red and yellow peppers are slightly sweeter, while green ones have a sharper, more vegetal flavor that some people love. I usually buy one of each color because they look stunning together on the table.
Make Ahead and Storage Tips
You can assemble these completely, cover them tightly, and refrigerate for up to a day before baking. Just add an extra 5 minutes to the covered baking time since they'll be cold. Leftovers reheat beautifully in the microwave or a 350°F oven, and they actually taste even better the next day once the flavors meld. I've even frozen unbaked stuffed peppers and baked them straight from frozen, just cover with foil and add 20 extra minutes.
Serving Suggestions and Pairings
These peppers are hearty enough to stand alone, but I love serving them with a crisp green salad dressed in lemon vinaigrette to cut through the richness. Garlic bread on the side is never a bad idea, especially for soaking up any extra creamy sauce at the bottom of the dish. If you're feeling fancy, a chilled Sauvignon Blanc or unoaked Chardonnay balances the garlic and cheese perfectly.
- Try adding a pinch of smoked paprika or red pepper flakes to the filling if you like a little heat.
- Swap the rice for cooked quinoa to boost the protein and keep it gluten-free.
- Leftovers make an excellent lunch the next day, just reheat gently and enjoy.
 Save to Pinterest
 This recipe has become one of those dishes I make without thinking, the kind that feels like a gift to everyone at the table. I hope it brings the same warmth to your kitchen that it's brought to mine.
Common Recipe Questions
- → Can I make these stuffed peppers ahead of time?
Yes, you can assemble the peppers up to 24 hours in advance and store them covered in the refrigerator. When ready to bake, add the splash of water and bake as directed, adding about 5-10 minutes to the covered baking time if they're cold from the fridge.
- → What other vegetables can I add to the filling?
Spinach, diced zucchini, mushrooms, or corn work beautifully in the filling. Add pre-cooked vegetables during step 7 when mixing with the rice and chicken. For fresh vegetables like spinach, wilt them in the skillet after cooking the onions.
- → Can I freeze these stuffed peppers?
Absolutely. Assemble and freeze unbaked peppers individually on a tray, then transfer to a freezer bag for up to 3 months. Thaw overnight in the refrigerator and bake as directed, or bake from frozen at 350°F for about 60-70 minutes.
- → How do I know when the peppers are done?
The peppers are ready when they're tender when pierced with a fork and the cheese on top is golden and bubbly. If the cheese browns too quickly, tent with foil. The peppers should hold their shape but offer no resistance when cut.
- → Can I use different types of peppers?
Yes, try red, yellow, or orange peppers for a sweeter flavor, or green peppers for a slightly bitter note. For variety, use a mix of colors. Poblano peppers work well for those who prefer mild heat—just reduce the baking time slightly as they're smaller.
- → What can I substitute for the heavy cream?
Half-and-half works for a lighter version, though the sauce won't be quite as thick. For a dairy-free option, use full-fat coconut milk or a blend of chicken broth with a tablespoon of cornstarch for thickening.